This guest post was provided by Liz Pekler.
Food is the common denominator for every person despite cross-border differences. We all have that one dish or dessert that has a connected memory into it, therefore making food as in demand as air to live.
Food photography is the embodiment of the famous line, “ You eat with your eyes first.” As to attract and entice people to crave for food, they have to find it palatable, worth the experience, and irresistible with their sight beforehand. This dire enticing act made by food photography is a way to get to interest and fill the hunger of every famished and craving individual. To master this type of still life photography, you will need equipment that are reliable and flexible for your shoot needs.
To become adept with the practice of food photography and food styling, you have to be diligent enough to consult some tutorials and how-to’s. You can also choose to follow some program to be able to course through the nitty gritty details of the craft because a certain food product may be photographed for several purposes. This purpose specification can determine your shoot technique.
A food styling shoot can be intended for several purpose such as to promote food packaging, to further advertise the food product, for editorial purposes such as in magazines, books, recipe articles, and for web uploading and blogging purposes. These four ways to shoot food can be an aspect to consider whether to use natural or studio light, place much highlight and shadows, add and emphasized on styling and props, use flatlay or add some edge to the photo, etc.
Nonetheless, it all boils down to the food photographer, his skills and his equipment. If the food photographer knows what he’s doing and has a grasp of the project he’s working on, equipped with skills and is able to utilize them, and has equipment that can further extend and showcase his capability, then expect a stellar food photography shoot.
Essential Equipment for Stellar Food Photography
Macro Lens
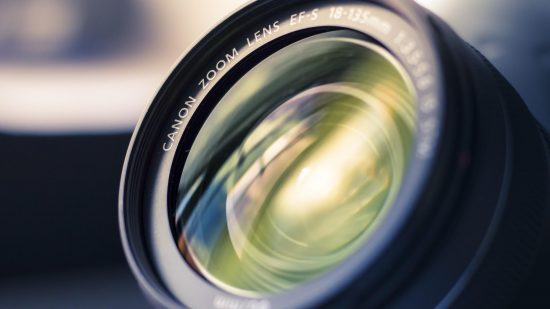
This specific type of camera lens enables to produce a photograph that features conspicuous details of the subject – just about the perfect lens for food photography and food styling! It can focus extremely and unusually close to the subject so that it appears more visible in the viewfinder. Macro lenses can focus at 1:1 maximum magnification to shoot engaging, detailed, and mouth-watering photos.
However, with this 1:1 maximum magnification feature, macro lenses can also shoot 1:2 and 1:3 images, meaning they are not shot too close but still the details are evident and the photo is still captivating.
A full-frame camera
A full-frame camera has full-frame sensors that is equivalent to 35 mm film. DSLRs with this kind of sensor are usually high-end and advanced-level photographers. You can expect images that have the highest resolution, clean with low noise even in a low ISO setting.
Stable tripod
While the basic tripod is essential to produce the sharpest possible image, the tripod lateral arm is a game changer. With it, you can have your most coveted overhead shots – shots that are in “bird’s eye view” – while saving yourself from back pain. You can conveniently attach the lateral arm to the metal bar screws found at the top of your tripod and attach your tripod head and extend the bar over where your subject is. Position your camera and voila, your most coveted overhead shot in the making! Along with using tripod, you can ensure the sharpest possible image by using a remote switch to prevent shake as you press the button.
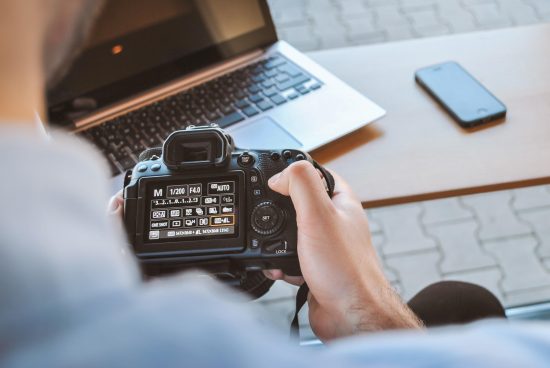
Workstation for Tethering
Tethered shooting guarantees you won’t be fooled by your viewfinder by allowing you to view your freshly taken photos in your laptop. You may have or may yet to experience this but there will be instances when your trusted viewfinder will trick you that you may have taken your best shot for that project. However, when you go home and start processing the photos, you may find it was not focused or lighted in such a way you opt to.
Lighting modifiers
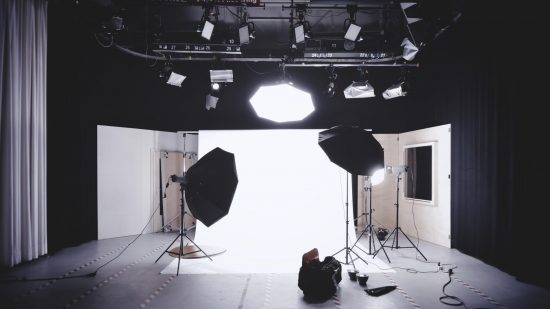
Usually, food photographers and food styling enthusiasts struggle with lighting their images in such a way that it can bring out its best. Soft and warm natural light is what most people go for but particularly, that is quite hard to achieve when you are using studio lights. The key is making artificial light look natural so that the food can work its own magic to the eyes and to the stomach as well.
In food photography, you do not want flat lighting meaning there is neither highlights nor shadow, has poor contrast resulting to low image quality and bland image. This can happen when studio lights bounce off of wall or ceilings after contact with subject and reflect some shadows back. To avoid this, light modifiers such as reflectors, diffuser and grids are advised to be used. A reflector, as its name suggests, reflects light into your desired direction. Light diffusers spread out or scatters light to achieve soft lighting. Light grid is used to create texture and avoid flat lighting, it creates highlights and shadows in a photo.
Accessories/ Styling
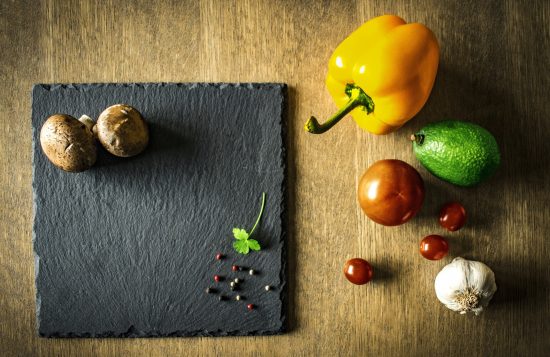
Styling and accessorizing is a another part of food photography that takes place in shoot preparation. In food photography it is useless if you just take good photos. Styling your subject in such a manner that they will look at their best is part of the job. There will be instances that strawberry your positioning to lean against another will fall and that will only make your shoot a lot harder. Taks, straight pins and t-pins are always handy to keep the subject in place. Kitchen torch is another equipment that can aid in making your subject sumptuous and fresh.